February 24, 2020 3 min read
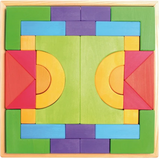
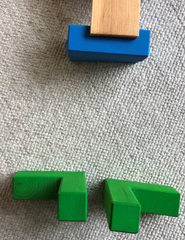
When perusing the panoply of options that Grimm’s offers, it’s easy to overlook the classic-looking Standard and Basic sets, and yet—they are still some of the most frequently reached for sets we have. We got the Basic (above, right) set 5 years ago, and the Standard (above, left) just recently. The big pieces are wonderfully stable (really helpful if you’re working on carpet) and the elbows and triangles are always next most popular after the arches, and you can never have too many standard lengths.
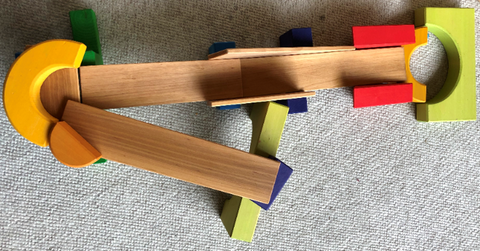
We’re lucky to have a sturdy collection of blocks, but recently I’ve been really enjoying the challenge of “build a run with JUST ONE SET”. Have a look! I’ve put together step-by-step instructions for a run with each the Standard and Basic sets, and one using both (I added one set of building boards as well, for each run). All of these are tailored to work with the Grimm’s Marbles (and the Grapat ones probably work just as well), but the ideas could certainly be used with other marbles and balls too!
What you need:
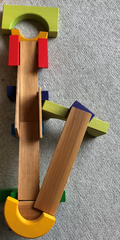
What you are building:
Another view:
In action:
We’ll start at the base--almost always, it's easiest to start at the end of the run and build up to the top.
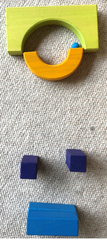
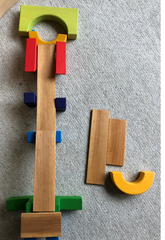
1.Set up the catcher for the end, stack the two blue blocks, and stand the purples on end. Don’t worry too much about exact placement yet, you’ll adjust them in a minute, if needed:
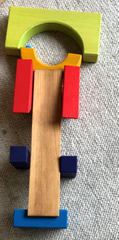
2. Place the longest building board on the stacked blue blocks and the entrance to the catcher, between the purple blocks. The red Triangles are balanced on a point, also leaning on the yellow half-circle.
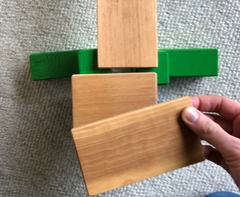
3. Past the end of the ramp, set two elbows like this, then a mid-length building board on top spanning from the green elbows, and resting on top of the long building board. Place two blue blocks upright, just past the elbows:
4. Stack the two shorted building boards. The smallest should span from the green elbows to the blue blocks, the next smallest right on top of that:
5. Here's how it looks at this point
6. Now add a curve at the top and edges on either side towards the bottom. The curve needs to be set so that it sends the marble on the right path down the ramp. With a lot of finesse, it will make a straight line right down the ramp. Putting on edges makes for longer play-value, so I recommend taking a moment to look at where the marble is hitting, adjust the curve and use the boards to guide it to the finish.
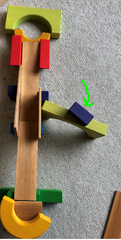
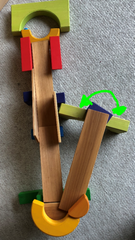
7. We’re starting the support for the last section now. The angle of the purple piece matters in the end—but we’ll adjust it later, for now just put it on, and put the second-longest board on top:
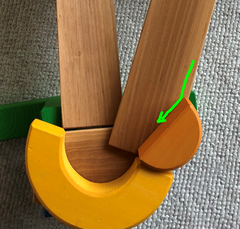
8. Use the half-circle block to guide the marble into the turn. Be sure it starts close to the edge of the board, and ends at the inner edge of the curve
Give it a try! If your marble is falling off the first ramp before it gets to the yellow curve, now is the time to adjust the angle of the purple block
See what a difference it makes? Compare this to the movie at the start (and note, due to the handmade nature of the blocks, the exact angle that works for you may not be the same as the one that worked for me).
Keep on rolling and check back for Part 2 in this awesome Marble Run tutorial series.
Comments will be approved before showing up.
Sign up to get the latest on sales, new releases and more …